Groups can be used to restrict the access users have to functionality (for example, which Workflows they can edit) within Scripting.
 Group ID Number
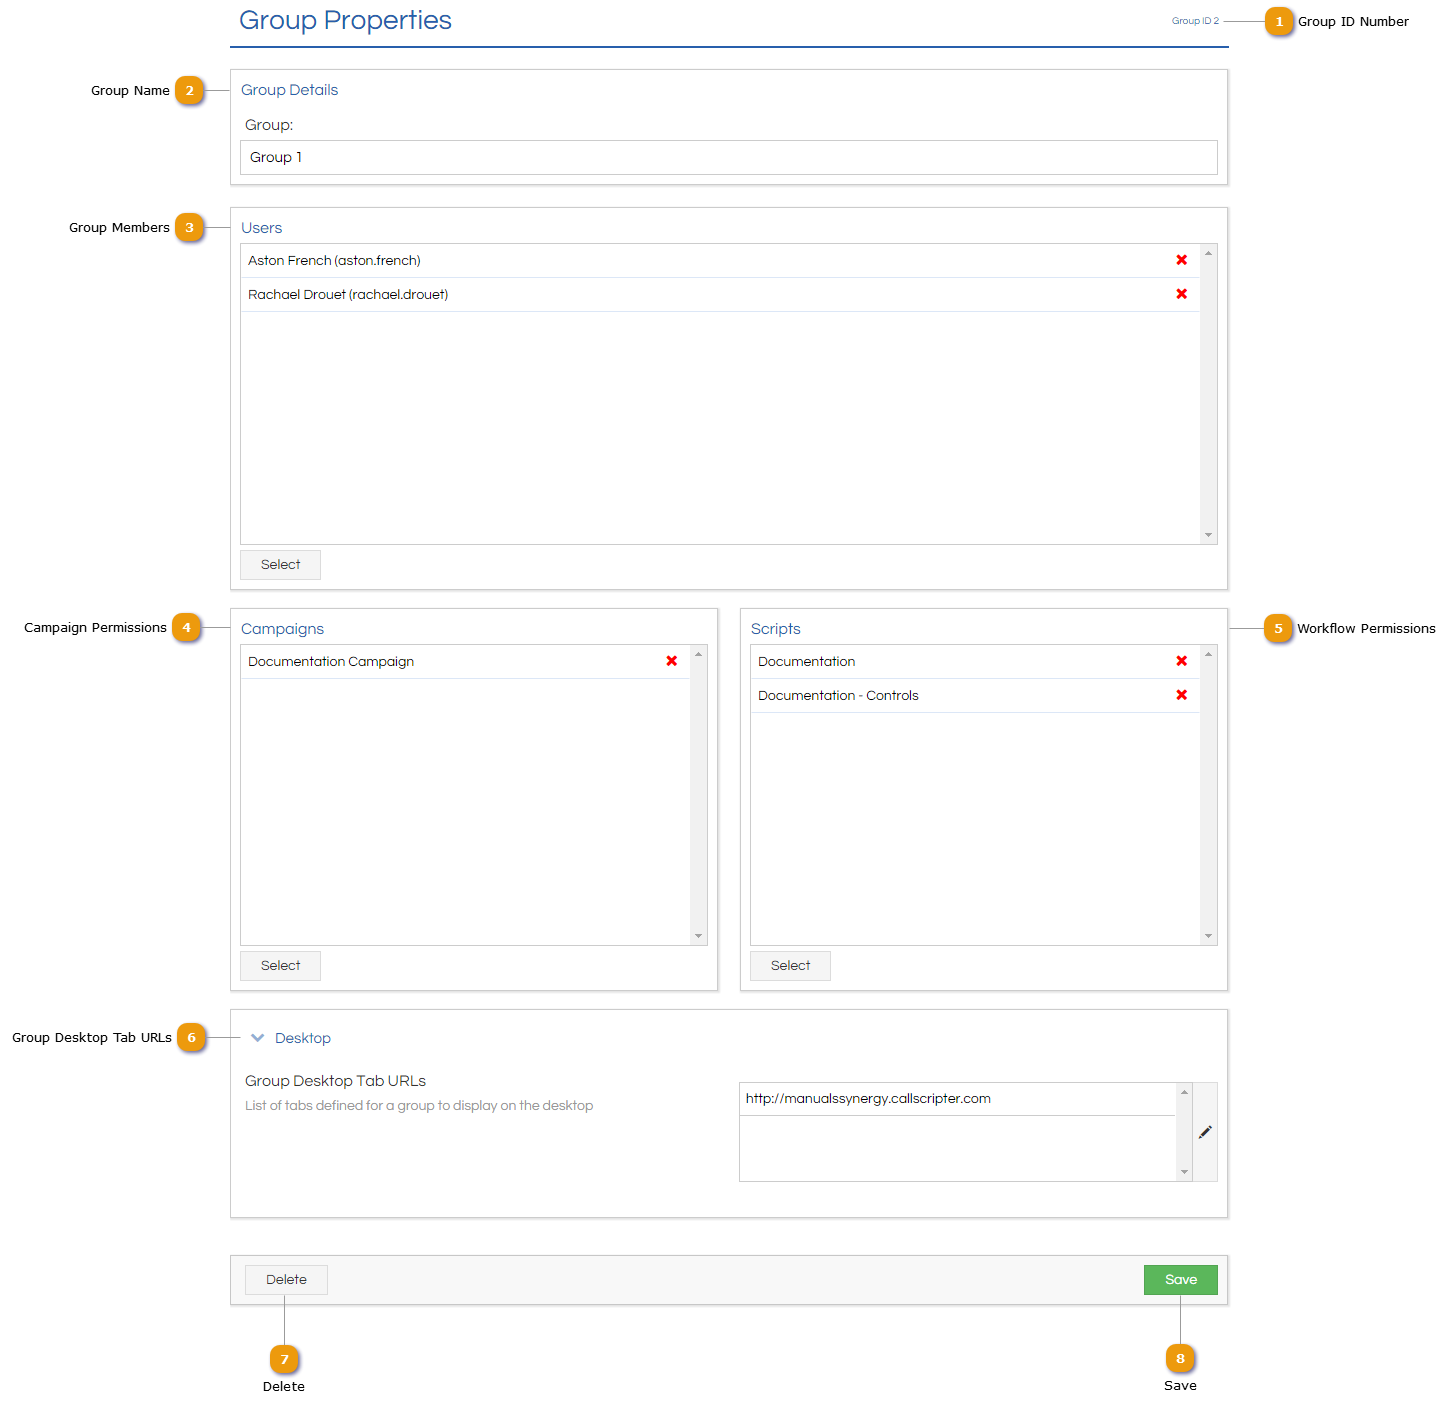
Displays the unique User ID for the current Group.
|
 Group Name
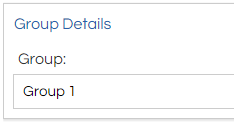
The selected Group name and ID (displayed to the far right) will display when a Group is selected from the list. Existing Group names can be changed here.
|
 Group Members
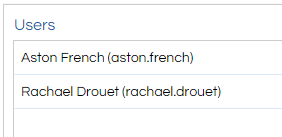
A list of users currently associated with the Group will appear. These can be removed by clicking the red cross button to the right of the username. New users are added by clicking the Select button at the bottom of the panel. Note that the group must also have Workflows associated with it to determine what the user will have access to.
|
 Campaign Permissions
A list of Campaigns currently associated with the Group will appear. These can be removed by clicking the red cross button to the right of the Workflow name. New Campaigns are added by clicking the Select button at the bottom of the panel. Added Campaigns are visible to members of the Group on the Desktop.
|
 Workflow Permissions
A list of Workflows currently associated with the Group will appear. These can be removed by clicking the red cross button to the right of the Workflow name. New Workflows are added by clicking the Select button at the bottom of the panel. Added Workflows are editable by members of the group that have been assigned a Designer licence.
|
 Group Desktop Tab URLs
Additional Desktop Tabs for members of the Group can be specified by entering a website URL (each URL needs to go on a separate line, and start with http:// or https://). Each line will be displayed in a separate Desktop Tab. |
 Delete
Click Delete to delete a group.
|
 Save
Click Save to save changes made.
|


