This example demonstrates how data can be sourced from a web service. Note that Scripting only accepts JSON-type responses from web services.
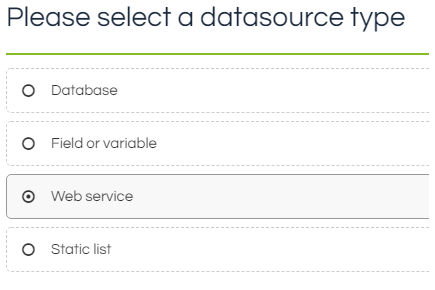
1) Select the Web Service datasource type:
2) Enter the root URL of the web service you wish to import from. This can either be a static URL, or a Workflow field or variable containing a dynamic URL. If a Workflow field or variable is used, then a test URL must be provided:
3) If there are any variable parameters to be appended to the query URL, they can be added here:
In this example, the actual service URL queried would be http://www.exampleapi.com/query?customerID=3
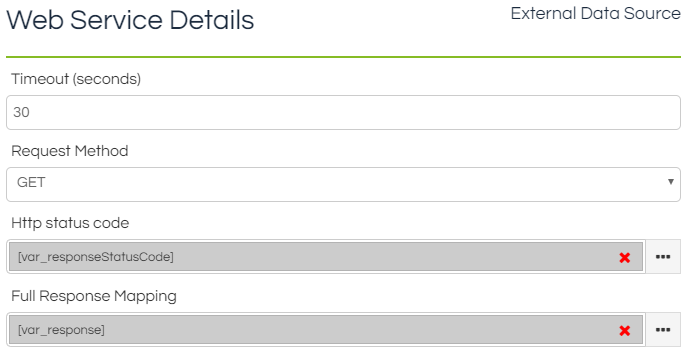
4) Select the timeout period for the query, and the HTTP Request method; the selected method will determine the other options displayed on this step, and the subsequent steps. You can also specify where the HTTP response code and full response object should be mapped, if so desired:
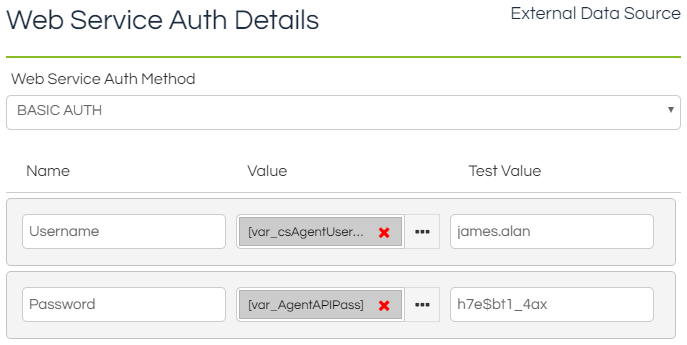
5) The authentication method (if any) can be selected to easily configure the required header:
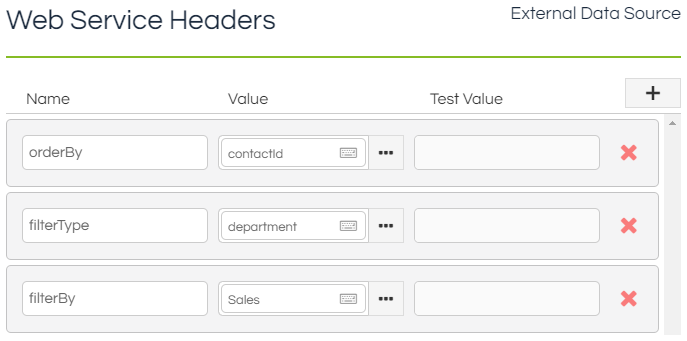
6) Header values can be manually specified for inclusion in the request:
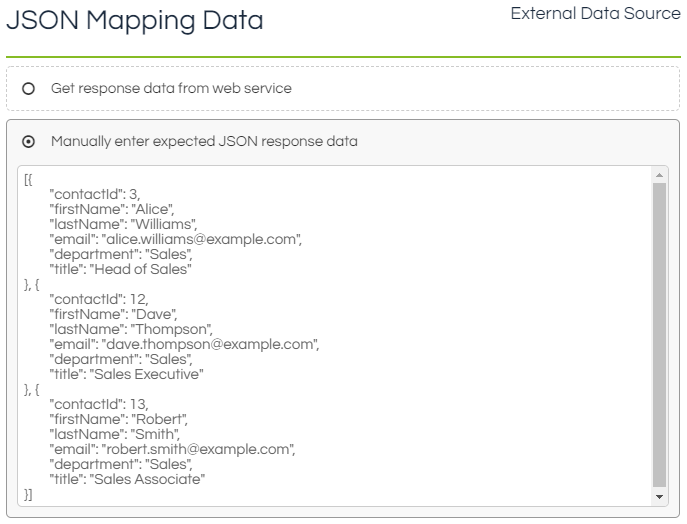
7) A sample response needs to be used to determine the mappings to be used. This response can either be pulled directly from the web service, or manually entered if the web service isn't currently available for some reason.
Note that if Get response data from web service is selected, then it will execute the query against the specified endpoint with the specified parameters when Next is clicked. As such, if you've provided either a hardcoded query or test data that will cause data to be altered at the endpoint then this action will occur at this time. To avoid actually querying the endpoint during configuration, use the Manually enter expected JSON response data option instead.
8) Map the data structure defined in the previous step to a representative table containing the desired information. First select in Rows Field the node that contains all of the data you wish to use ( in this example), and then select the Column Fields that you wish to actually read data from (root > contactId, root > firstName, root > lastName, root > email, and root > title in this example):
Table Control Only
i) The Table control's reference column needs to be specified; this is a unique identifier that is stored as the Table's value when a row is selected. If Multiple Select is enabled, then multiple rows in the Table can be selected simultaneously, with the Table's value being set as a comma-separated list of the reference column values:
Note that if the reference column doesn't enforce unique values, then selecting a row will also select all other rows with the same reference value.
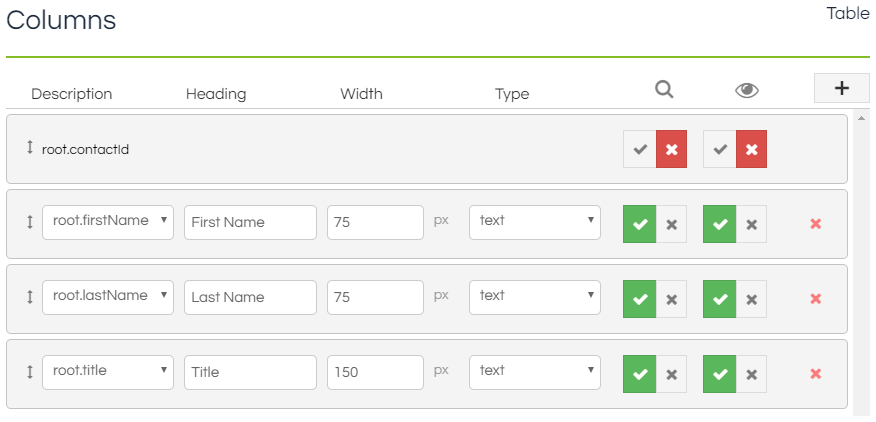
ii) The data to be displayed in the Table control is then defined. The Reference Column is always listed first, but can be hidden by unticking the Visible column for it. Any column in the returned data can be mapped to the Table, and have its names and column width formatted. It's also possible to set whether the column is searchable, or hide columns if their values are needed for mapping but they shouldn't be displayed in the table:
List Box Only
The List Box control's value and display text columns need to be specified; the value of the selected row is stored as the field's value, and the Display Text is what's shown to the agent in the List Box:
Note that if the value column doesn't enforce unique values, then selecting a row will also select all other rows with the same value.
All Controls
9) Mapping the returned value for each column to a Workflow field or variable is configured on this page, as is whether the value should always overwrite the mapped field/variable, or only if the mapped field/variable is empty:
Note that the List Box can only map the value and display text columns, and will always overwrite.
Note that if multiple rows in a Table or List Box are selected, then no columns will be mapped. Also note that if any of the returned values are null then they won't be mapped, even if overwrite is enabled; to overwrite a field with blank data, an empty string must be used.
10) When the field has been fired in a Workflow, it can be configured to
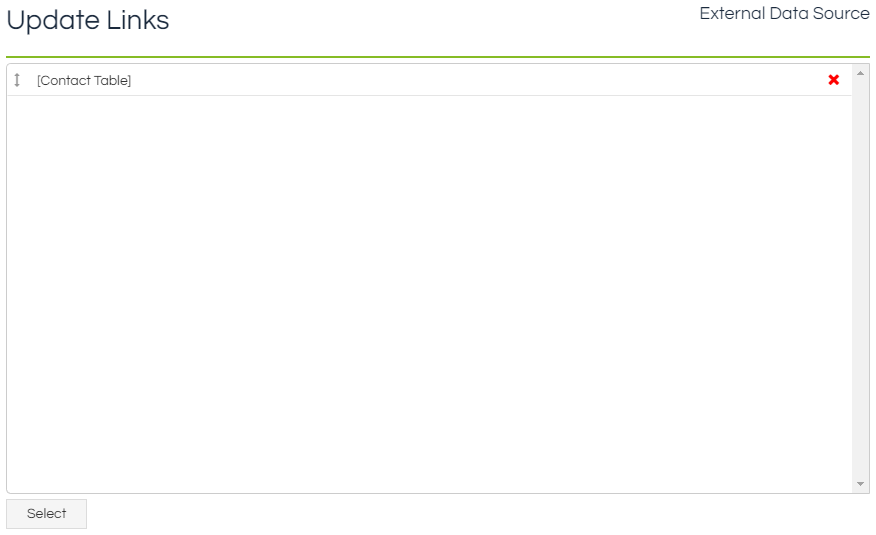
trigger certain other fields when it has completed. In this example, when our External Data Source has completed its query, it will trigger a Table to run its query:
Update links are a deceptively powerful tool, allowing the chaining of multiple controls together. For example; when a row is selected in a Table control, this maps a series of values to Text Boxes and other fields. A second Table then displays a related set of data based upon the selection in the original Table. This could then be taken further, with the second Table being set to trigger a
JavaScript - Button when a row was selected.
11) Click Finish.

