Creating and Managing Pages
Agents interact with the contents of Workflow Pages, with the individual Pages containing the Controls, data, and logic that create the agent experience within an interaction. Creating Pages is usually the first step when building a new Workflow, and Pages are linked from one to another using an appropriate Control or
JavaScript (usually Button or GoToPage controls).
With a few exceptions (namely
Used Fields,
Workflow Variables, and the
Script.Data JavaScript object), the contents of each Page in a Workflow exist in isolation during a Workflow run. This means that Pages are frequently used to logically separate different phases and aspects of the process, and reduce the chance of accidentally interfering with parts of the process that aren't currently relevant or have already been completed.
Each Workflow is comprised of a number of individual Pages, and these Pages contain the Controls that agents actually interact with to guide them through the process or conversation. The way that these Pages are linked together also allow a Workflow to produce anything from a simple flow from a start point to an end point, to a complex branching and merging process that allows for sophisticated behaviour and capability.
Typically, a business will have a recorded business flow process defining their requirements, which would then be manually created within a Scripting Workflow to yield the desired user-guided process. For more complex processes, it can be helpful to produce a flow diagram of the desired process, and then flesh this out with the specifics of how it will be implemented in a Workflow. An example of such a fleshed-out flow diagram for both a simple and more complex business process are displayed below, as produced in a third-party flow diagram design tool:
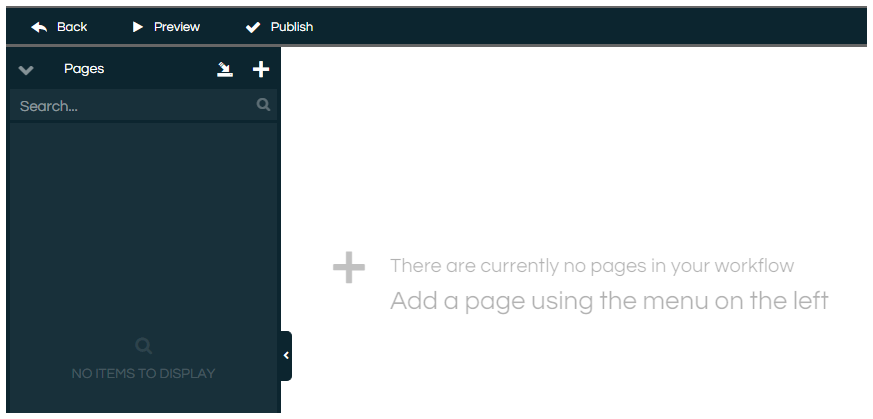
When a new Workflow is created, the Page list will be empty (unless Pages have been
set to appear by default in all new Workflows):
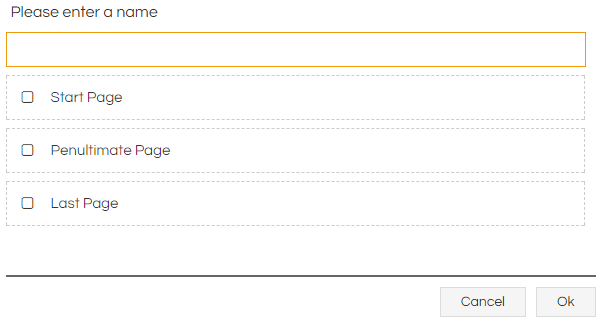
Workflows are each comprised of two or more Pages. Each Workflow must have a Start Page, and a Last Page, so the system knows where to begin and end. One of your Pages must be marked as the Penultimate page, indicating to the system that the Workflow is about to end and providing a location for the
End Workflow button to take the agent to if clicked. The Penultimate page can also be the the Start or Last Page, should you only require one functional Page in your Workflow. Each type of Special Page should only be defined once, but a single page can be defined as more than one type of Special Page simultaneously.
|
Property
|
Description
|
|
Page Name
|
Page names can be comprised of both letters and numbers. It's common to start a Page name with numbers to indicate their position in the flow, and then have a descriptive phrase for the end of the name.
|
|
Start Page
|
The Start Page is the initial Page displayed when the Workflow is opened.
|
|
Penultimate Page
|
Allows agents to use the Last button in the Agent toolbar to move to this Page (for example, if the caller hangs up). |
|
Last Page
|
Upon being reaching this Page, the Workflow run will be completed, the interaction closed, record data submitted to any integration (if relevant), and the agent marked as free to take or make the next call. This Page is not seen by the agent and is usually left blank, as running JavaScript code (such as a dynamic Text Label) on the last page will cause JavaScript errors. A limited set of actions can be taken on this Page, please refer to the Workflow Page Load Order and Behaviour article for further detail. |
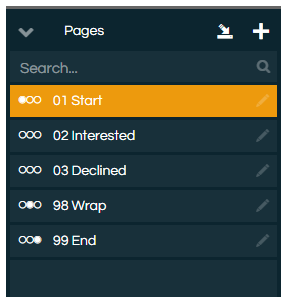
Once created, pages appear in the pages panel on the left side of the screen:
The circle indicator displayed to the left of the page name allows users to see which page is marked as Start, Penultimate and Last.
When a user moves from one Workflow page to another all data captured within Workflow fields is written back to the SQL database, and all JavaScript variables are wiped (except the data held in the
Script.Data JavaScript object).


